This guide will walk you through the easiest way to deploy Keycloak, a popular Identity Provider (IdP) that provides login functionality for your web applications, on a Kubernetes cluster.
1. Prerequisites
Before you begin, ensure the following prerequisites are met:
- A working Kubernetes cluster with access to the
kubectlcommand. - Helm installed on your system.
- NGINX Ingress Controller installed and configured.
- Cert Manager installed.
- A storage class available for persistent volumes.
For TLS certificates, we’ll use self-signed certificates generated by Cert Manager. To configure this, run the following command to create a ClusterIssuer:
kubectl apply -f - <<EOF
apiVersion: cert-manager.io/v1
kind: ClusterIssuer
metadata:
  name: selfsigned
spec:
  selfSigned: {}
EOF
Next, verify that your ingress-nginx service has at least one external IP assigned. Use this command to check:
kubectl get svc -n ingress-nginx ingress-nginxIf the EXTERNAL-IP field displays <pending>, you’ll need to assign an IP. For this example, we’ll use MetalLB to allocate an IP (e.g., 192.168.0.77) with the following commands:
kubectl apply -f - <<EOF
apiVersion: metallb.io/v1beta1
kind: IPAddressPool
metadata:
  name: ip-pool
  namespace: metallb-system
spec:
  addresses:
  - 192.168.0.77/32
---
apiVersion: metallb.io/v1beta1
kind: L2Advertisement
metadata:
  name: ip-pool
  namespace: metallb-system
EOF
2. Customizing Helm Charts
We’ll use Keycloak’s Helm chart from Bitnami to deploy Keycloak. Start by retrieving the default Helm chart values:
helm show values oci://registry-1.docker.io/bitnamicharts/keycloak > keycloak-values.yamlEdit the keycloak-values.yaml file to suit your deployment requirements:
vi keycloak-values.yamlBelow are the key configurations to update:
# Set the default administrative username and password
auth:
  adminUser: andi
  adminPassword: "dpRSfKB4EV00HTm8"

# Enable TLS encryption
tls:
  enabled: true
  autoGenerated: true

# Enable ingress
ingress:
  enabled: true
  ingressClassName: "nginx"
  hostname: keycloak.192.168.0.77.nip.io
  annotations:
    kubernetes.io/ingress.class: nginx
    cert-manager.io/cluster-issuer: selfsigned
  tls: true
3. Deploy Keycloak
Once your Helm values are ready, deploy Keycloak with the following command:
helm install keycloak -n keycloak --create-namespace oci://registry-1.docker.io/bitnamicharts/keycloak -f keycloak-values.yaml4. Validation
After deployment, verify that Keycloak is running by checking the pod status:
kubectl get pods -n keycloakTo access the Keycloak web UI, visit its ingress URL in your browser:
kubectl get ing -n keycloak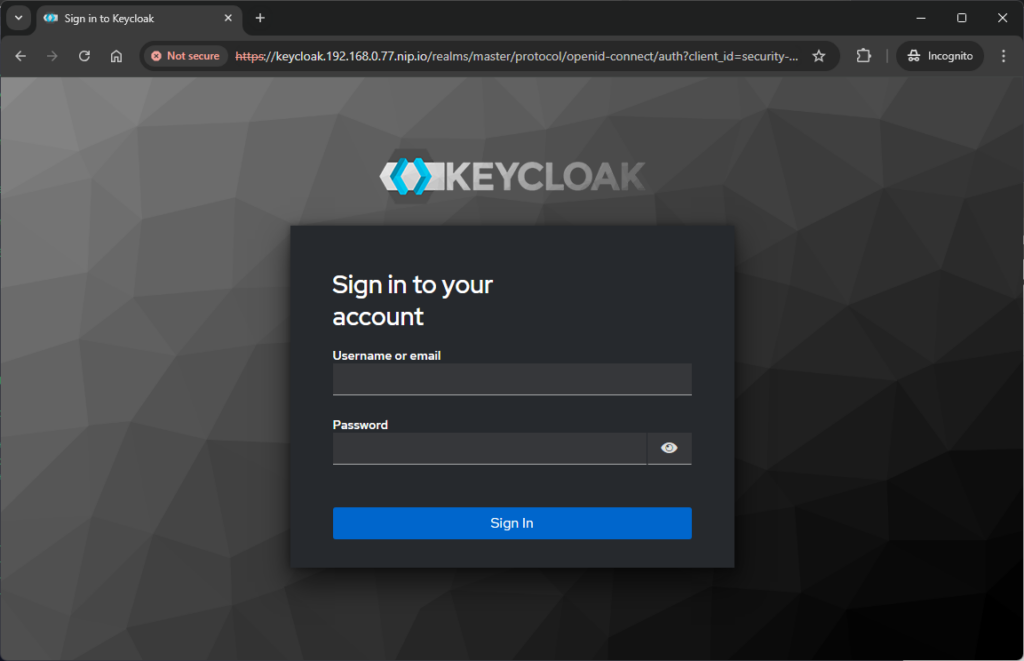
Leave a Reply